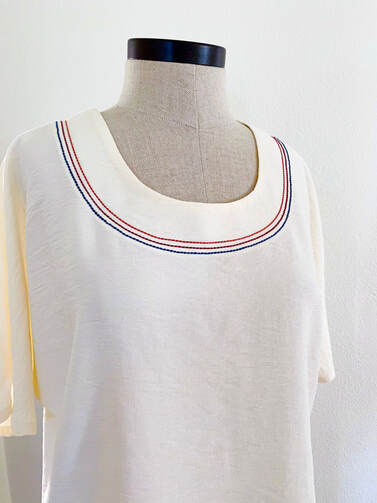
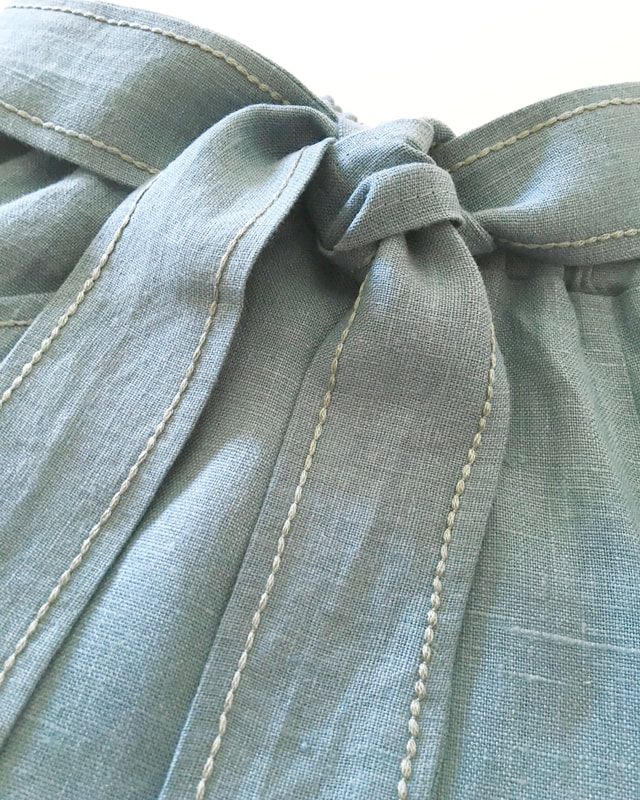
I had some fun in the sewing room recently and took one of my favorite hackable patterns, the Georgia Top, and made this creamy contrast stitch top that will take me from summer right into fall. I documented the whole process and I have it here for you in a video. Enjoy!
2 Comments
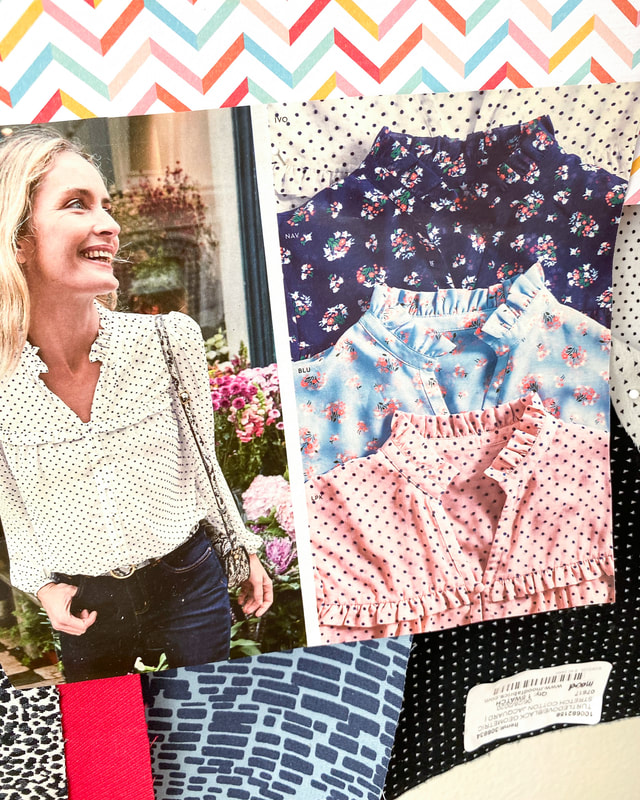
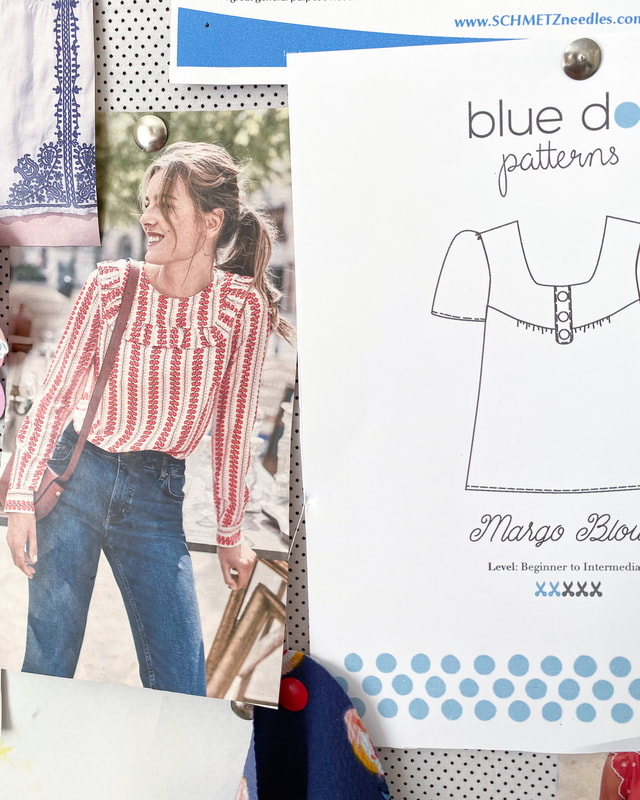
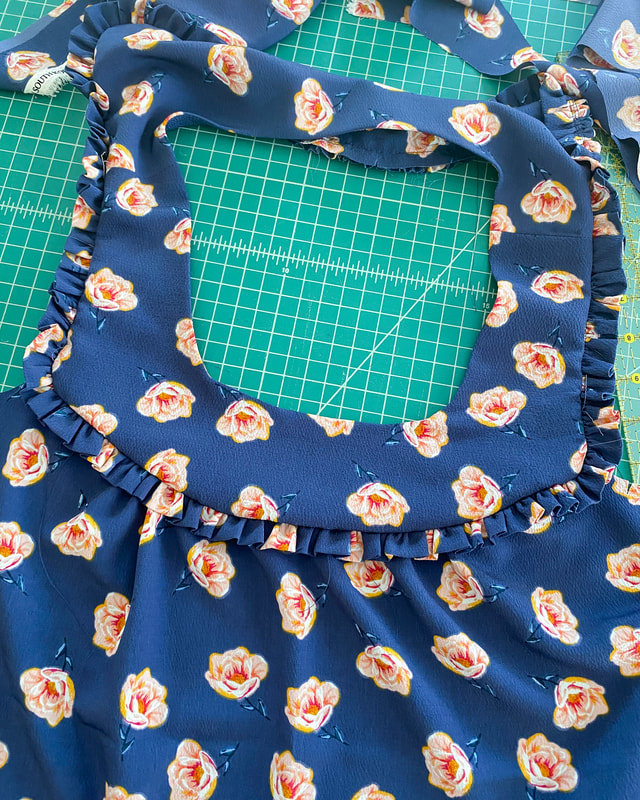
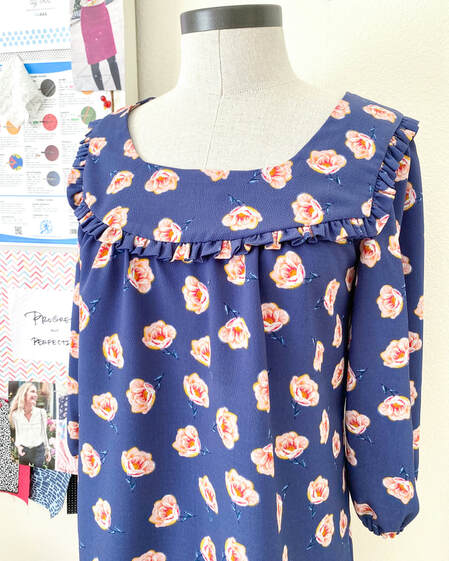 This fall I released the updated Margo Blouse and had some fun making new versions for my closet. Ruffles made their debut on the yoke of the Margo Blouse and to add to the fun I made the New Dover Jacket in pink! Although I've made both of these patterns many times, these pieces both have something special something that makes them new.
Adding ruffles to the Margo has been on my list for quite a while. My inspiration board is full of photos with inspiration for adding ruffles without adding too much frill. After lots of experimentation I landed on adding ruffles around the entire yoke, both front and back.
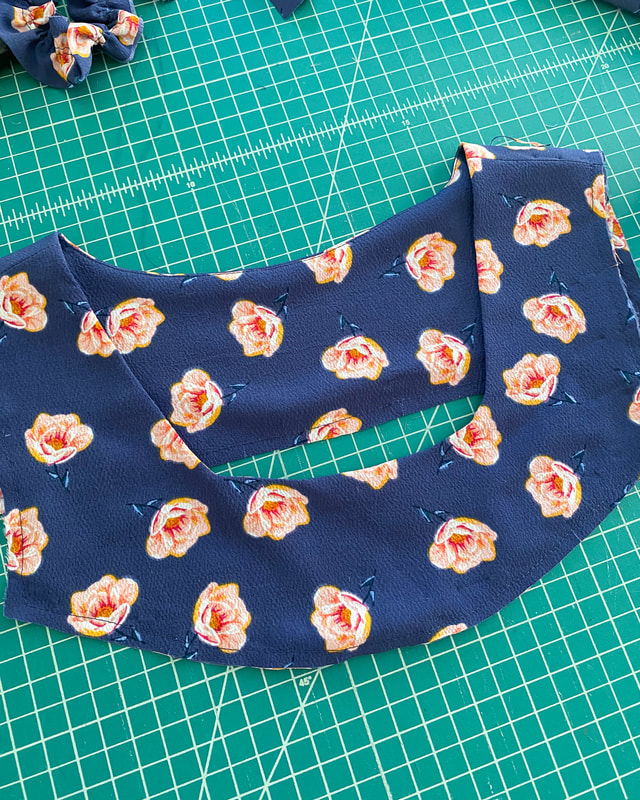
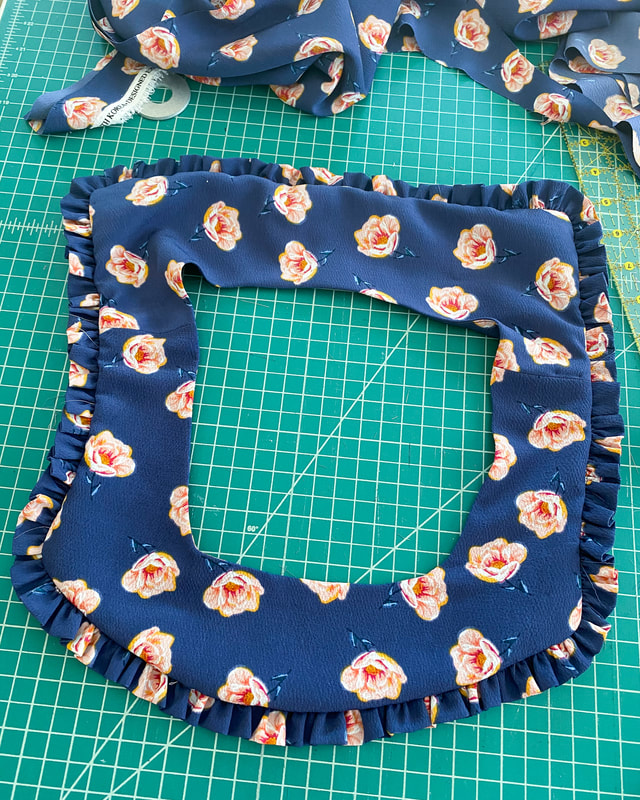
Here's how I did it: For a 5/8" finished ruffle, I cut 2 strips of fabric 2 1/4" wide by the width of my fabric, pieced them together, folded and pressed the strip in half lengthwise. Ran 2 rows of basting stitches, and pulled on the bobbin threads and gathered the entire strip. Constructed the yoke and facing and basted them together around the perimeter. Basted gathered ruffle to outer edge of yokes. Continued constructing blouse. 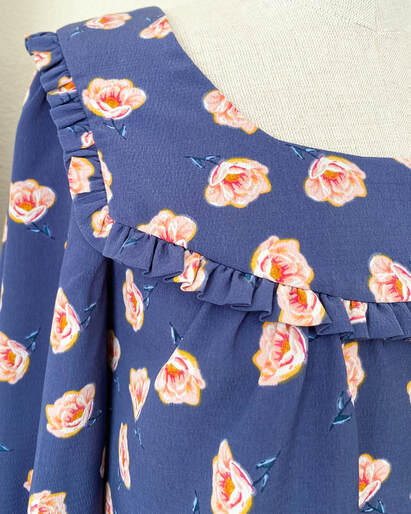 It got a little bit bulky at the corner so I did lots of grading, trimming and pressing to get everybody to lay flat. I used a poly crepe which isn't typically responsive to the iron, but I persisted and used the iron in combination with my wood clapper (if you're unfamiliar you can check one out here) and I'm happy with the finished product. 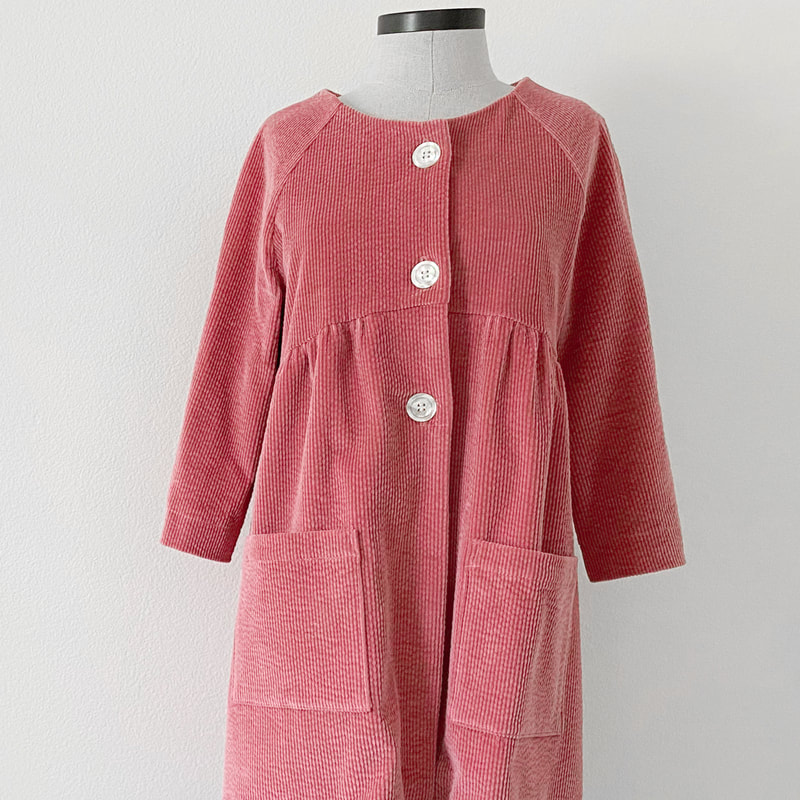 Let's face it, I can't pass up corduroy let alone wide wale pink cord. This is dreamy soft with a bit of a distressed texture and I would imagine it's just going to get softer with wear. I made the long version of the Dover Jacket and added large vintage buttons. I've worn this with the ruffle Margo blouse and also a simple t-shirt and scarf. I think it will get lots of wear this spring on crisp days. The roomy pockets are one of my favorite features on this jacket as they hold everything I need for a quick jaunt out. I didn't topstitch this version because I wanted to live with it first, but now I think I will go back and add some about 2" in around the neck and front.  Happy Sewing my friends and may this year bring you all the good things!
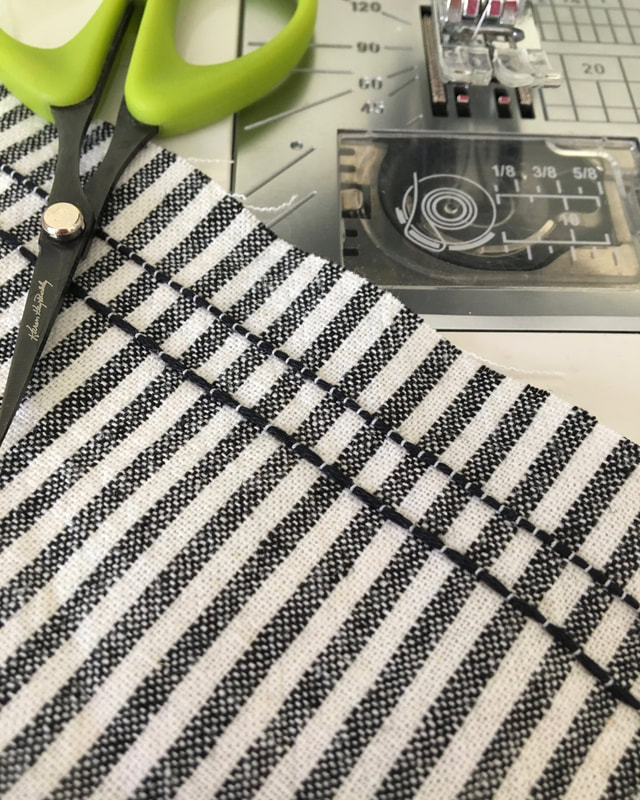
Diane Today I have a video that I hope will make your life a whole lot easier. I'm working on a sleeveless version of the Margo Blouse for the MarfyRemnantChallenge sew along hosted by SewToFit. It's been a fun project that I've made entirely of scraps from my scrap box. I've made a few changes to the pattern to make if work for my scraps including splitting the front yoke and making it sleeveless. The video illustrates a technique that allows you to enclose the armhole seam without sewing. It's a fun and satisfying! I will share more about the project soon! 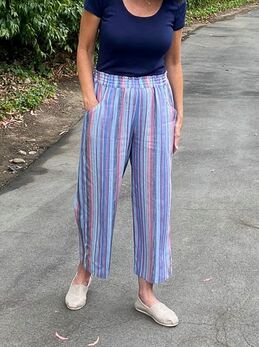 I recently made a pair of super soft Coffeehouse Pants in a rayon/linen blend. Now those of you with any experience with stripes, know it can take some finesse to make them look good. In the case of an uneven stripe, the school of thought has been that they can't be matched. But I'm here to say that they can! We should start by defining an uneven stripe. An uneven stripe has different stripe colors and widths that don't form a symmetrical pattern. Here is an example of pants in uneven stripes that haven't been matched: 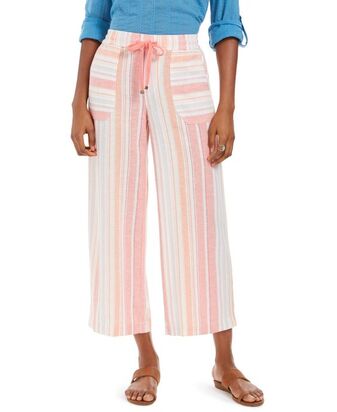 Usually when we make pants we attempt to match the stripes in the center front and center back so they form a "V" shape. But here, there's no match at center front. Here's how to fix it. Normally when we lay out fabric, we fold the fabric in half lengthwise. With an uneven stripe, you get stripes that don't line up. If you look at the red stripes in the pic below, you can see they're almost opposite in the lengthwise fold.  The solution comes in the way you fold the fabric before layout. If you fold your fabric on the CROSSGRAIN, you can avoid this entirely. In the photo below, I folded the fabric crosswise and now all the stripes line up: 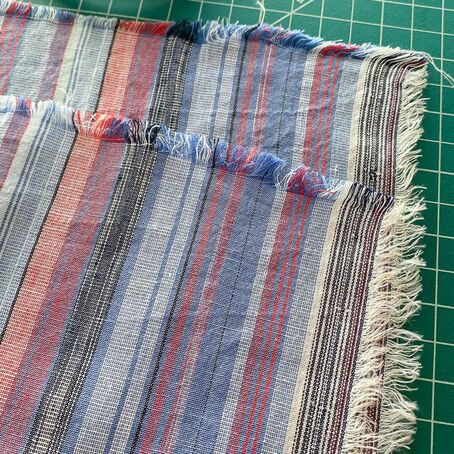 Since the fabric was folded on the crossgrain, my pant pattern pieces were laid out side by side: 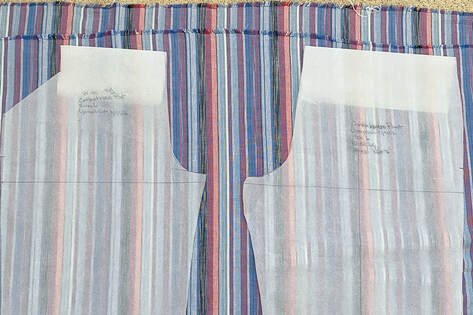 Here's the match I got on the center back seam: 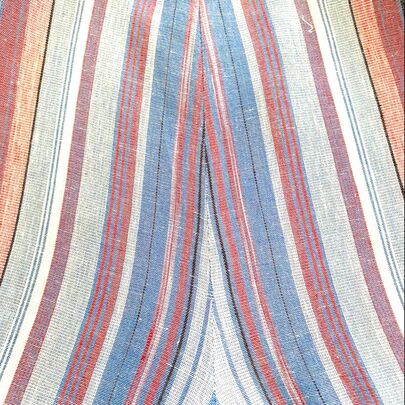 It's so simple but a complete game changer! Keep the crosswise fold in mind before purchasing your fabric for an uneven stripe project so you're certain to buy enough fabric.
I hope this helps all of you! Stay well and keep sewing, Diane
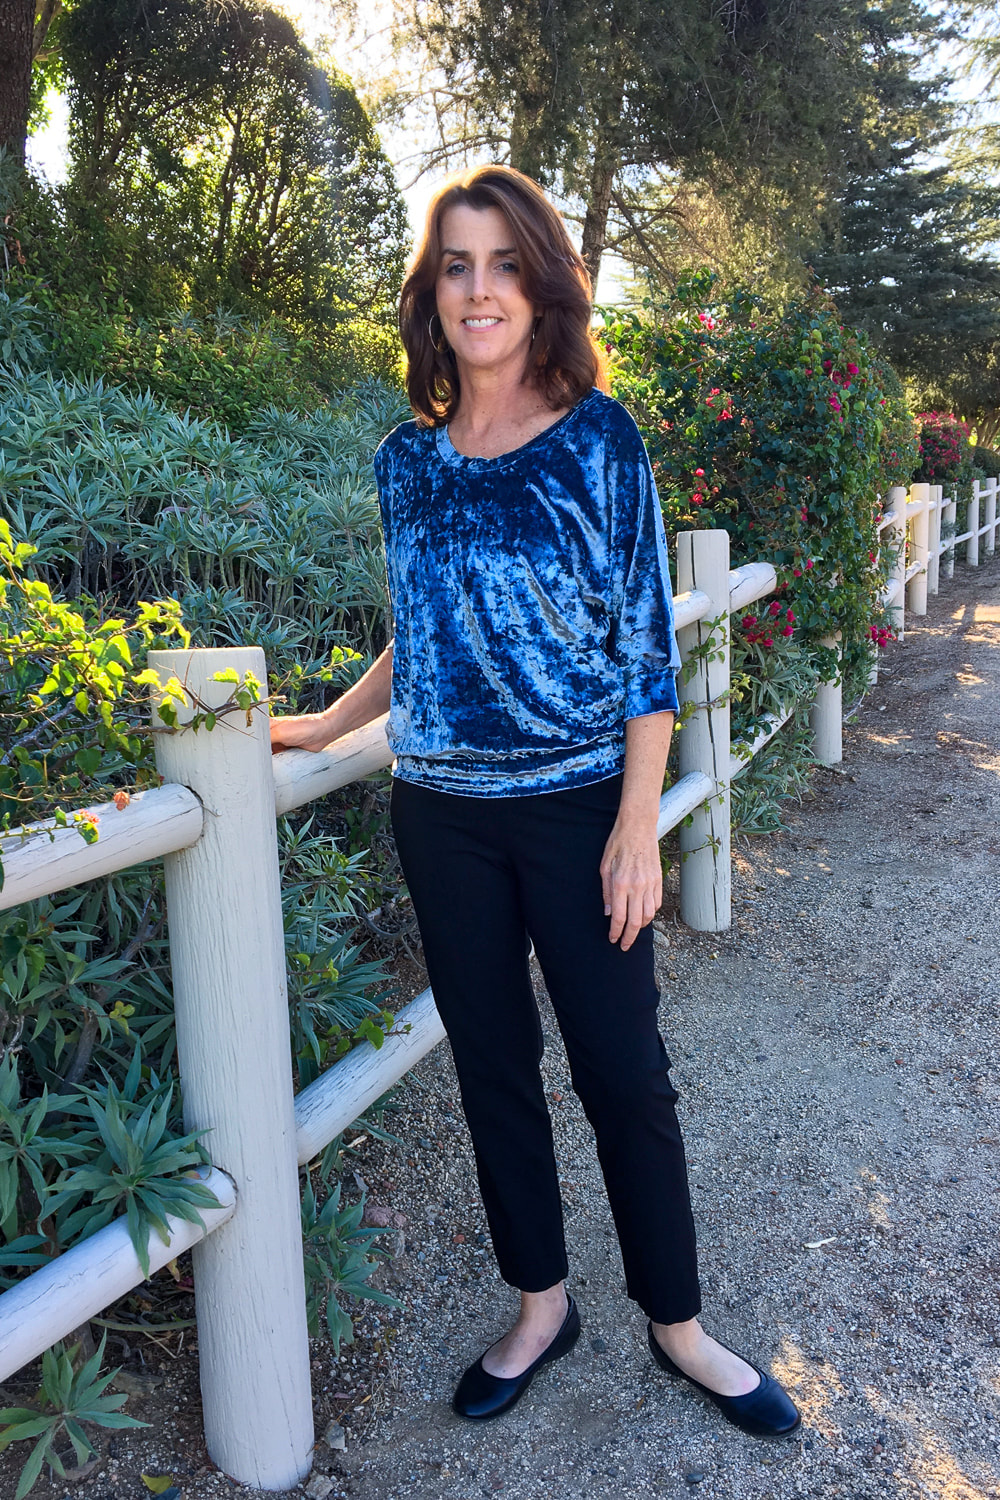
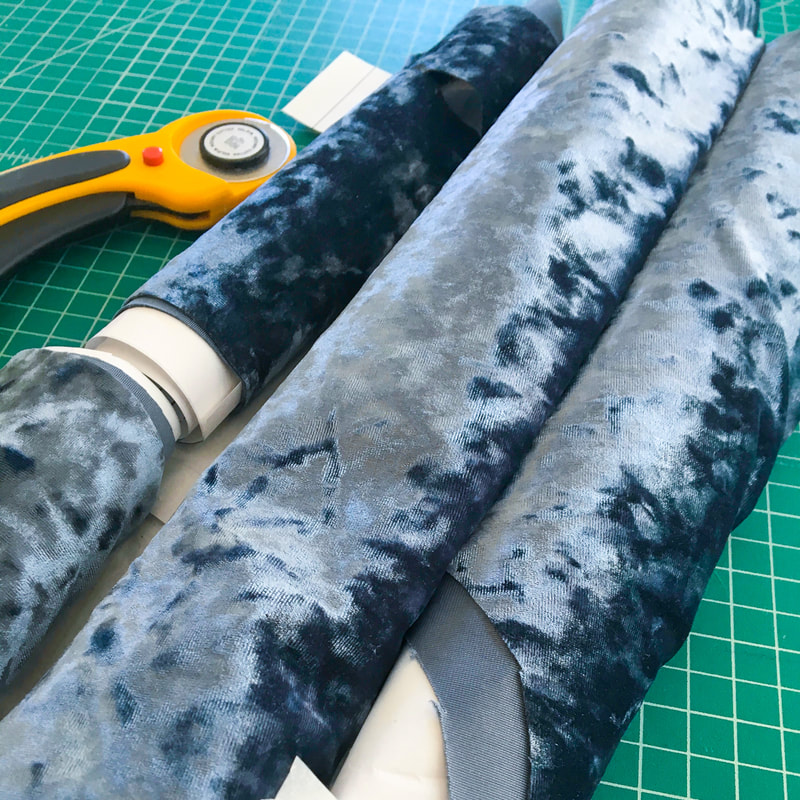
Every holiday I stand in my closet and look for something that is both dressy and comfortable and this year I’m going to have some lovelies to choose from! We usually do quite a bit of entertaining at our place this time of year and with that, quite a bit of cooking so comfort is key. But as hostess, I want to look festive and feel pretty. You’re probably thinking "I love velvet, it’s luxurious, soft, glamorous but hard to sew, right?" Wrong. This crushed velvet is an easy first step into sewing your first velvet garment because this isn’t velvet in the formal sense, it’s stretch velour which for sewing and I would argue, wearing, is even better. I have some tips here that will have you crushing on this fabric.
Well I'm pretty excited to be a guest blogger today for Cali Fabrics and couldn't resist appeasing my velvet fix with their gorgeous collection of crushed velvets. There are several rich colors of this fabric on the Cali Fabrics website and I couldn’t choose just one so in true “fabricaholic” form I went ahead and picked two! I chose the romantic dusty light blue and elegant wine color for my holiday makes (but you can check out more colors here). 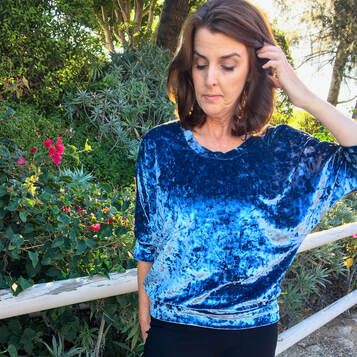 I took out my tried and true Blue Dot Patterns Georgia Top (of all my patterns I’ve made this the most and use coupon code CALIFAB and get 20% off the pattern for all of November!) to make a dusty blue luxurious (and very quick) sweatshirt. I made it straight out of the package minus the topstitching and it was quick and simple because this pattern doesn’t have any hems. I cut and sewed this in under two hours! I will probably wear this on Thanksgiving as it’s comfortable, washable (key when cooking, right?) and I’m pretty sure everyone will want to hug me.
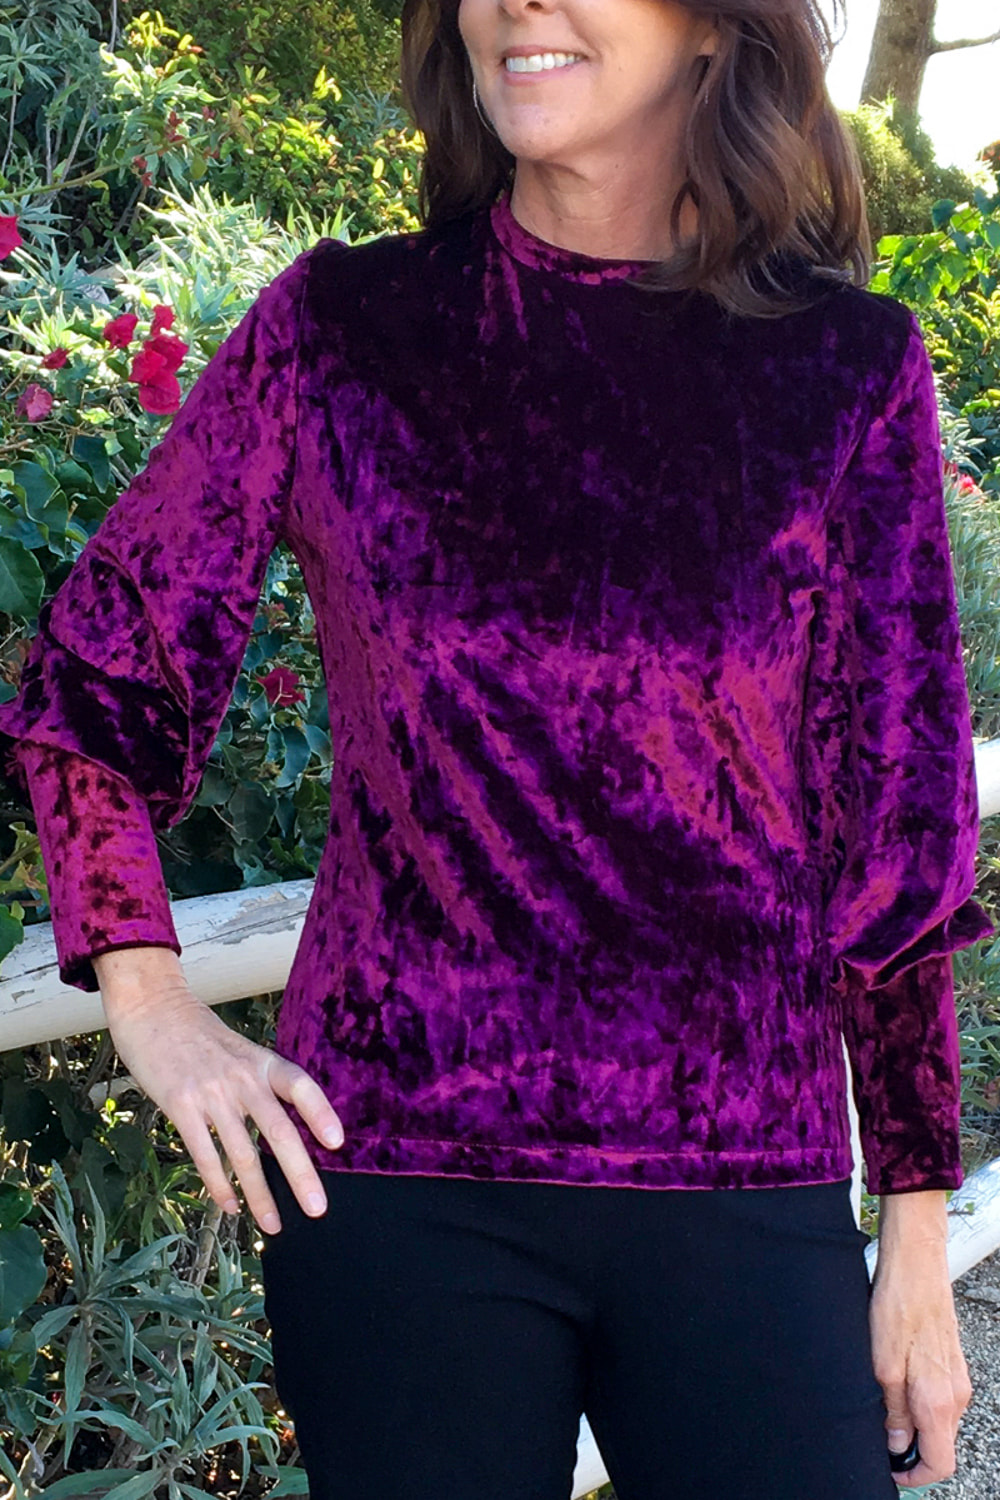
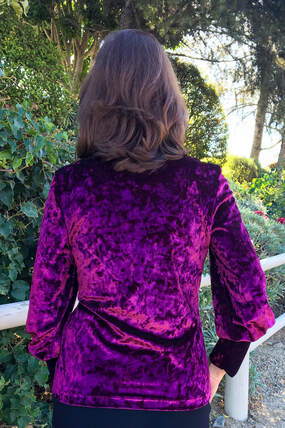
For my next make I used the wine crushed velvet to sew up Simplicity’s fall release 8982. I bought this pattern as soon as it came out because of View C. The sleeves are divine! This top is almost as simple as the Georgia Top but adds set-in sleeves, gathers at the cuffs and a hem. Still, nothing difficult here and with the stretch velvet, the sleeves slid in like a dream and I used a twin needle for the hem. This top is just as comfortable and very easy to dress up. It looks good with black jeans but also would be great with a skirt and heels. Hopefully someone will invite me to a New Year’s party (wink,wink) because I’ll be ready with this top, black pants and sparkly earrings. Now here are some tips that’ll help you overcome your fears and help you fill your closet with stretch velvet: Choose the right pattern: This crushed stretch velvet has great stretch and recovery so it’ll work on a pattern for knits, but what’s most important in choosing a pattern for this fabric is the design. Simple lines and fewer pieces are a great way to insure success and since the fabric shines on it’s own anyway, there’s no use choosing something complicated. Both of the patterns I chose have 5 pieces each and require very little pressing. Which takes me to my next point... Careful when pressing (you don’t want to crush your velvet): I try to press as little as possible when working with any velvet but when you do need to press, use the coolest iron setting that will work and press from the wrong side...always. In addition, press velvet against velvet. You could use a fancy needle board but why when you can use a scrap of velvet? Have your scrap velvet face up on your ironing board and your project face down so the pile of both are together. On curvy seams, I laid my scrap over my ham to press. Be mindful of the nap: This fabric has a one way nap so when cutting and sewing make a quick double check to be sure everything is facing the same direction.
Roll your fabric to eliminate creasing: After cutting, I rolled my pattern pieces with my velvet to keep creases from forming. Test your stitches: I do this on every project. Since this fabric is technically a knit, a ball point needle and a narrow zig zag stitch with a long stitch length worked well for me but use whatever works for you. The stretch stitch on my machine (it looks like a lightning bolt on the stitch guide if you have one) is too close together so if I have to take a seam out (gulp) it’s too hard to take out! If you have a walking foot, use it: It’s not necessary but it will help. 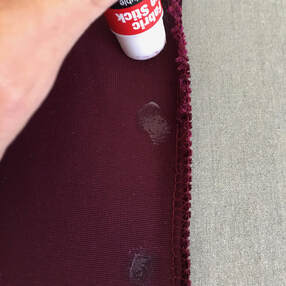 You’re not going to believe me when I say this but use a fabric glue stick if you need to: When it came time to fold up my hem and I wasn’t able to press it in place, I sparingly used a fabric glue stick (not regular glue stick!) to keep everyone in place. Although it washes out and this fabric is washable, I didn’t want to make my project too gooey, so a dot here and there on the hem and when folding the neckbands in half really helped.  Thank you Cali Fabrics for the opportunity to sew with these lovely fabrics.
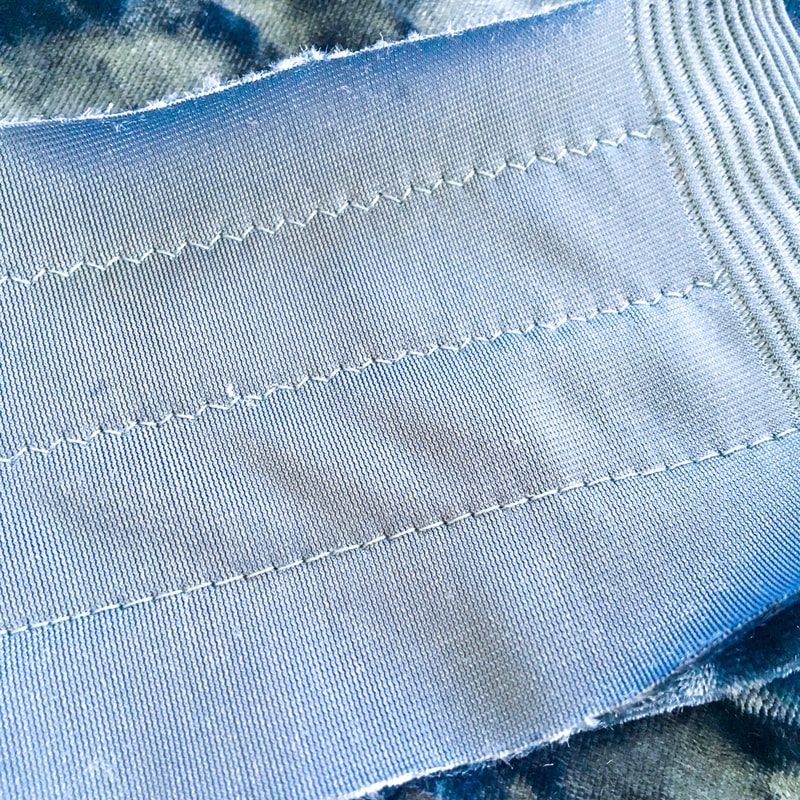
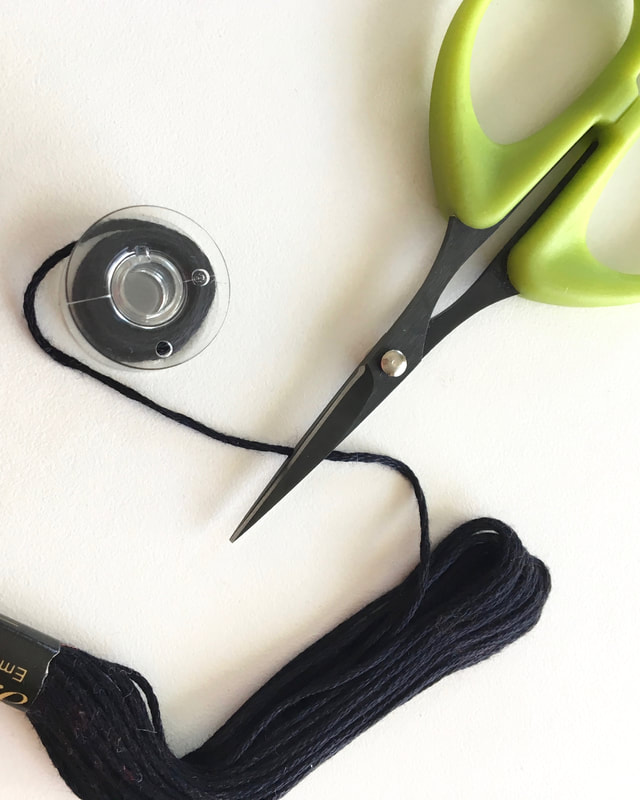
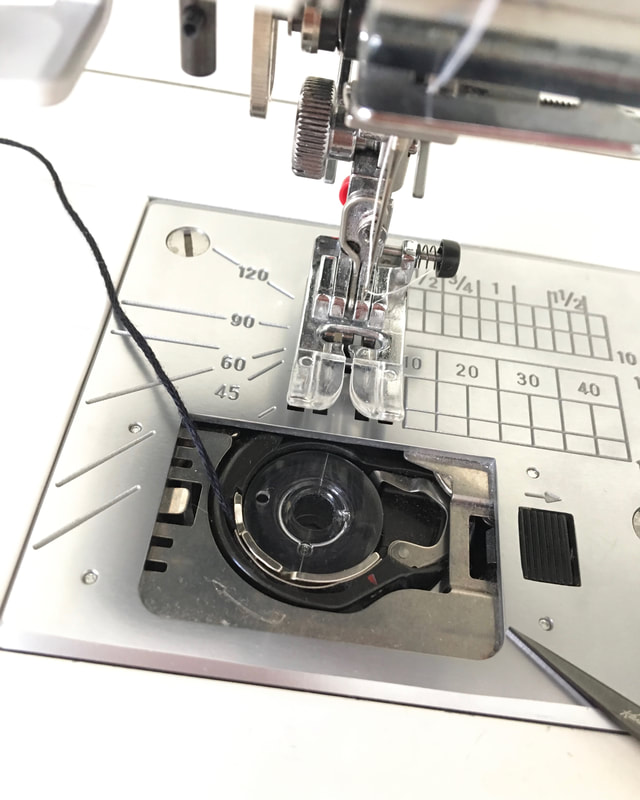
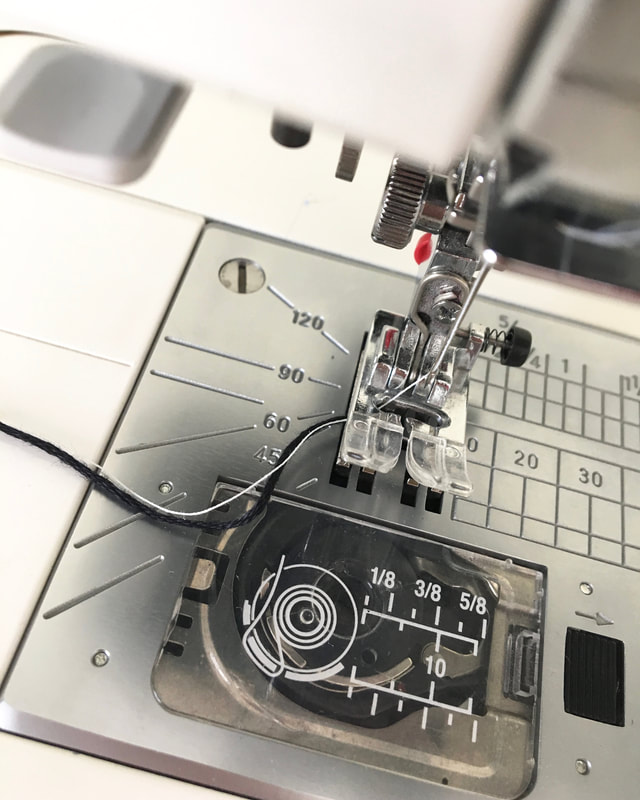
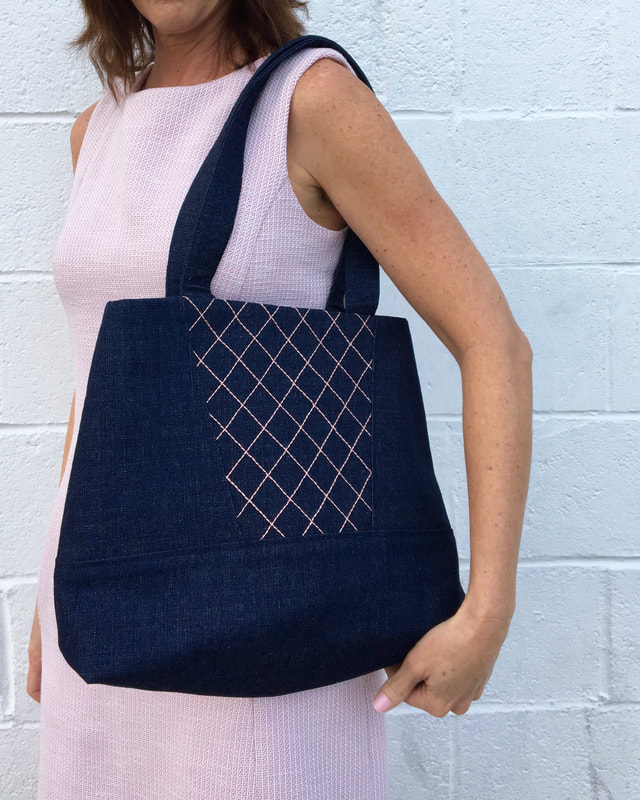
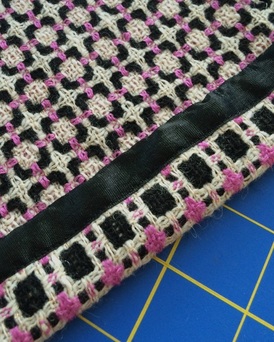
Sewing friends, enjoy 20% off the Georgia Top PDF Pattern on the Blue Dot Patterns website for the month of November! Use code: CALIFAB. I wish you well in your holiday sewing and festivities. I know you’ll look great in your velvet! Happy sewing, Diane #bluedotpatterns, #simplicity patterns, #sewover50, #holidaydressing, #holidaysewing 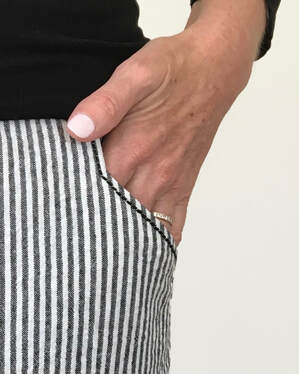 I'm happy to share with you a topstitching technique I use quite often in my sewing. I used it here on my Coffeehouse Pants both on the pocket and on the hem (see below). This is one of those sewing tricks that I've shared in my sewing classes and people don't believe that it actually works because it sounds too easy! Although reverse bobbin work is something we often see in quilting or "art to wear", I think it's perfect for everyday garment sewing and it's a whole lot of fun for something so quick and easy. 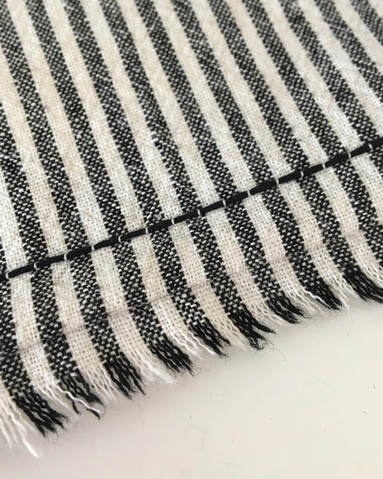 Reverse bobbin topstitching is stitched from the wrong side of the fabric so when you look from the front you are actually looking at the bobbin thread. If you load some chunky or interesting thread that might normally be too thick as an upper thread, you can load it in the bobbin and use it. It can be a thread for hand embroidery or machine...I've used different types. Here's how to do it:
Enjoy my friends. And I'd love to see examples of your stitching!
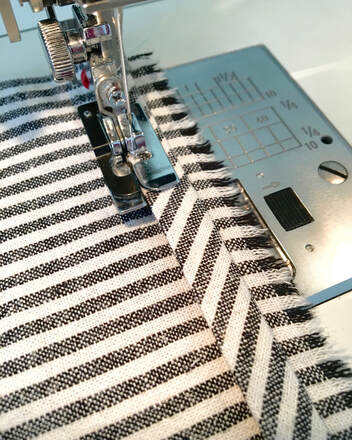
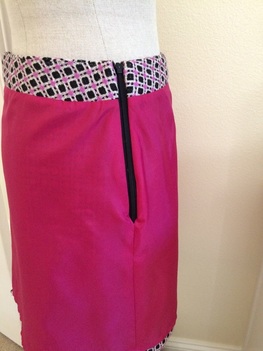
Happy Sewing! Diane 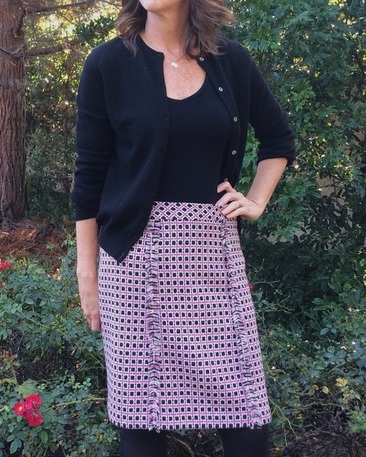 It’s week #2 of the “Bottoms-Up” skirt series. Last week I made a gray and black Ally Skirt but this week I have a wintery but colorful plaid skirt that’ll spice up my closet. 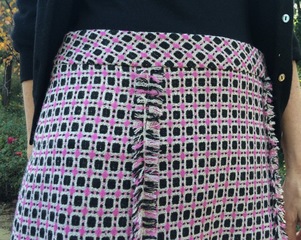 This beautiful wool boucle from Fabricland was one I couldn’t pass up. Clearly, it would make a stunning jacket but I would wear a skirt so much more. Chanel boucle jackets often have fringe trim so why not add some trim to my skirt as well? 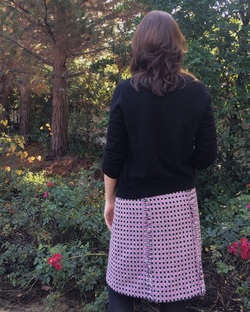 I used McCall’s pattern 7096. It’s fairly new pattern and has front and back seams that would lend themselves to fringe. I made view A in a size 12 because I found it ran a little big and it still sits too low on the hip for me. I figure by the time Thanksgiving is over it’ll be just perfect. 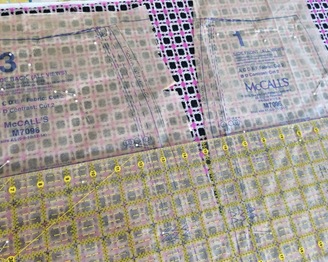 I took my time cutting the plaid (for obvious reasons) and cut all pieces in a single layer to make sure I got the match right on. The best way I found to ensure everything lined up was by using my 24” quilting ruler across all of the pieces. And after all of that painstaking work lining it up, I used the Accufeed on my machine (essentially a built-in walking foot) to keep those plaids in place. 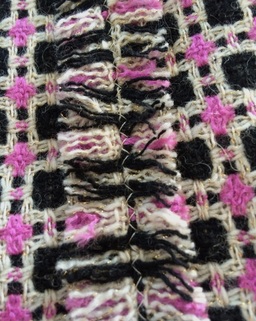 The fringe may look difficult and time consuming and it may make you think I’m clever, but it’s so simple you won’t think I’m such a genius. I sewed the front and back seams wrong sides together, pressed them open from the front, and did a long zig-zag stitch down the center seam to stabilize the seam for fringing. I simply pulled threads (while I was on the phone with my sweet mom) and it was done! It really is that easy.
This is an unlined skirt pattern and for sure a wool skirt needs to be lined. I wrote a “How to Line an Unlined Skirt” post to show how to make a pattern for a skirt lining. The lining was made without the front and back seams to eliminate bulk. I then attached it to the yoke. Check it out! 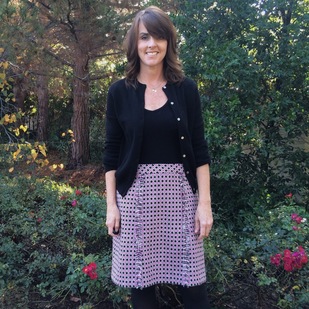 I have a purple skirt in the works for week #3. Doesn’t every girl need a purple skirt?
Happy Sewing! Diane 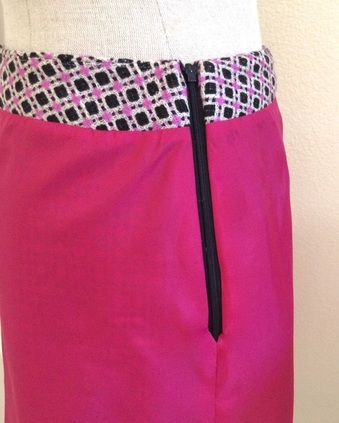 Deep down inside, I must be a little granny because I love to line my skirts (I've been known to wear a half slip but don’t judge). Cotton, linen or otherwise, making the the inside as pretty as the outside is part of the fun of sewing. I recently made McCall’s 7096, a six gore unlined skirt, out of a wool boucle. Needless to say I wanted it lined. Since I have a skirt blog series coming up soon, A "How To" for skirt linings seems appropriate. 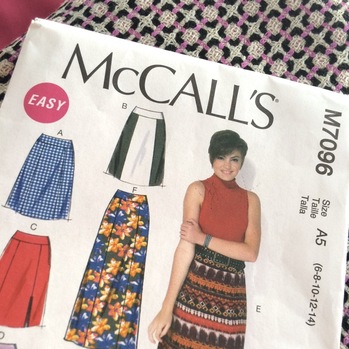 A lining should be as smooth as possible as the last thing we want to do is add bulk to the inside of a garment. Making a lining with as few seams as possible is the goal. I turned this six gore skirt into a simple one piece front and one piece back lining. Here’s how to do it: 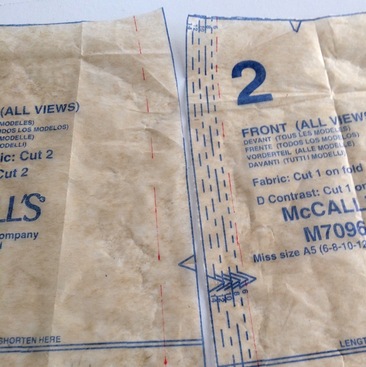 Draw the stitching lines on the front and side front pieces along the front seamline. 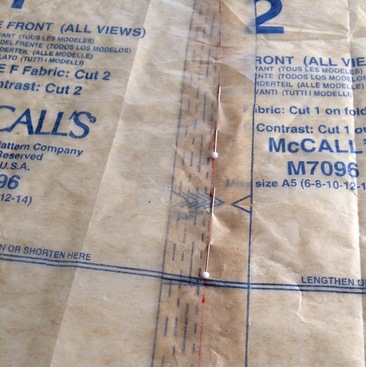 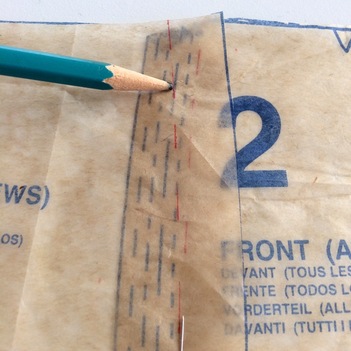 Overlap the stitching lines and pin together. Go as far as you can while keeping the pattern pieces flat. They will spread into a “V” near the top. 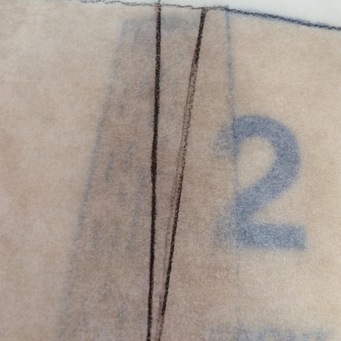 Place tracing paper over the pinned pattern pieces and trace the outside and the “V” at the top of the pattern. This forms the new dart or pleat. 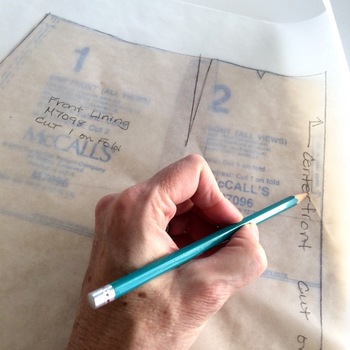 Make all the pattern markings on the new pattern and repeat for the back. Cut off the hem allowance from the original pattern (in my case I cut off 1 1/2” as stated on the pattern.) There it is! Easy peasy, right?
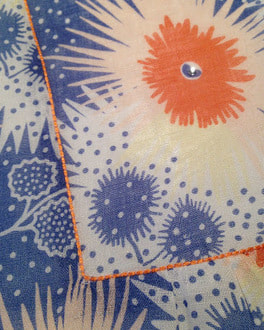
Enjoy!  I made the tiniest little boy shirt out of this fabric and since the shirt was so small, I wanted to minimize the busyness of the pattern by matching the pattern on the pocket. Actually, if I were to be completely truthful, I really wanted to match the pocket because I love matching patterns and probably would never have another chance to line up "googly eyes". Learning to match a pocket is quick and this method works for prints, stripes as well as plaids. Here's how to do it: 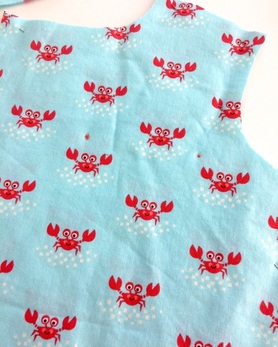 1. Transfer pocket placement dots to front of shirt. 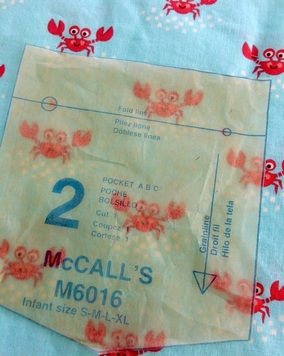 2. Place pocket pattern on the shirt so dots match. 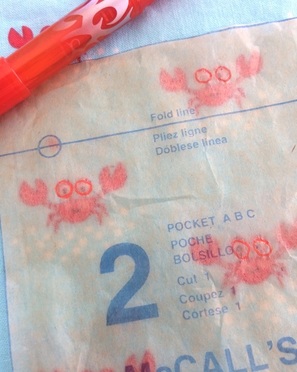 3. Trace design of fabric onto tissue ( I marked the "googly eyes" of the crab using a water soluble marker just in case it bled through the tissue and onto the fabric. This may or may not have happened in the past. Hmmm.) 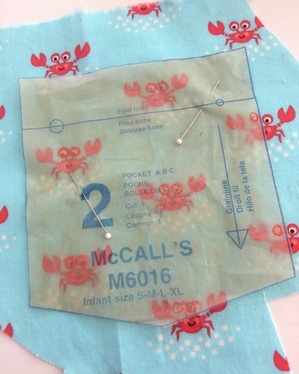 4. Place pocket pattern over shirt fabric, matching "googly eyes". Cut out the pocket. Here's how to prep the pocket and stitch it on: 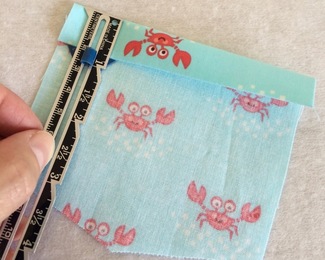 1. Fold over hem allowance. 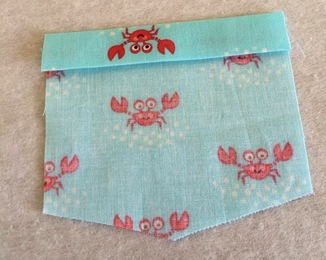 2. Fold under 1/4" under hem allowance for clean edge. 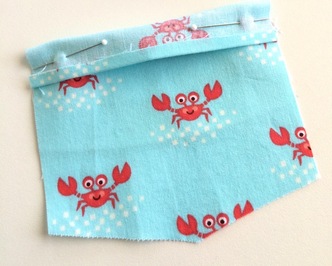 3. Fold hem back along the foldline, right sides together.  4. Stitch along hem allowance line (in this example it's 5/8"). 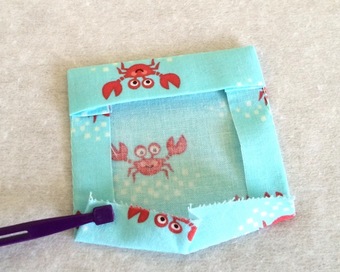 5. Turn the hem so the right side is out and press in along stitching line. Using the line as the guide insures that the pocket is even.  6. Stitch along top of pocket at hem (I completely forgot to photo this part...we will use our imaginations and pretend it's there, uh-hem.)  7. Place pocket on shirt, pin in place and stitch (I use my ditch foot for a really clean line.) 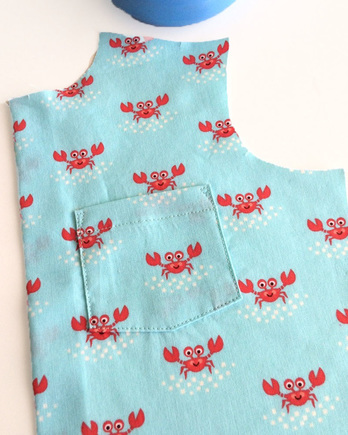 There's our pocket all ready to go! 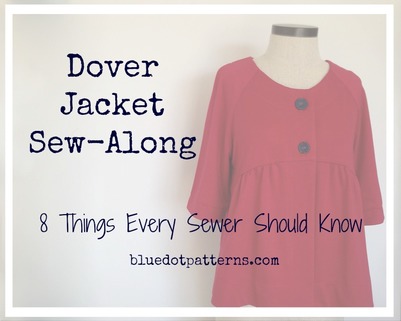 February is the time when I'm racing to finish up winter projects and at the same time looking ahead to some spring sewing. It's not quite time for short sleeves but it is a good time to brush up on our skills in preparation for spring projects. And if you're a new sewer, now's the time to learn some good foundational skills that'll launch you "armed and dangerous" into your new hobby. So... join us for the Blue Dot Patterns Dover Jacket Sew-Along....8 Things Every Sewer Should Know. 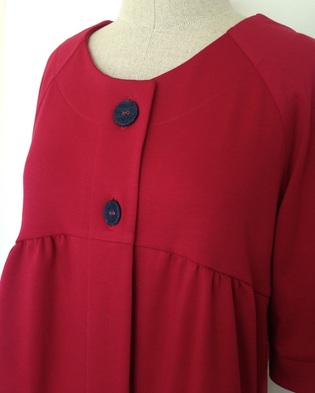 The Dover Jacket View B is a loose fitting, 3/4 length sleeve jacket that is a versatile wardrobe builder. It goes together quickly and is a great project for the beginning/intermediate sewist. You will learn 8 basic sewing skills that'll not only make your garments look professional but will also help your garments go together more quickly and easily. If you are new to garment sewing, this would be a great sew-along for you! Here's what we are going to learn:
February 12 - Day #1: Selecting Fabric, Supplies and Choosing Pattern Size. February 16 - Day #2: Preparing to Sew: Put Together the PDF, Cutting, Marking and Interfacing. February 19 - Day #3: Constructing the Body of the Jacket: Gathering, Clipping and Understitching. February 23 - Day #4: Finishing up: Topstitching, Buttonholes and Sewing on Buttons by Machine. Here's the Sew-Along Badge if you'd like to add it to your blog: 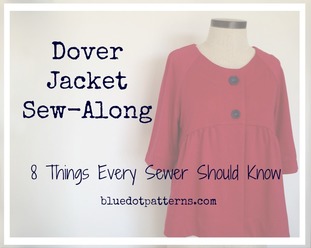 Okay....let's get ready. I can't wait to see what you make!
|

About MeHi! I'm Diane, a wife, mom, sewing teacher and pattern designer from sunny Southern California. I share my sewing adventures here on the Blue Dot Blog formerly Gatorbunnysews. For more info click here. 
Categories
All
Archives
October 2022
|


 RSS Feed
Proudly powered by Weebly